关于PreferenceActivity、PreferenceFragment、ToolBar就不再做介绍了,本文主要讲解的是在PreferenceActivity、PreferenceFragment中添加ToolBar。
下面介绍不同版本相应的方法:
继承PreferenceActivity重写onCreate方法添加如下代码:
1
2
3
4
5
6
7
8
9
10
11
12
13
14
15
16
17
18
19
20
21
22
23
| @Override
protected void onCreate(Bundle savedInstanceState) {
super.onCreate(savedInstanceState);
setStatusBar();
ViewGroup rootView = (ViewGroup) findViewById(android.R.id.content);
View content = rootView.getChildAt(0);
LinearLayout toolbarLayout = (LinearLayout)LayoutInflater.from(this).inflate(R.layout.activity_toolbar, null);
rootView.removeAllViews();
toolbarLayout.addView(content);
rootView.addView(toolbarLayout);
Toolbar toolbar=(Toolbar)toolbarLayout.findViewById(R.id.toolbar);
toolbar.setTitle("设置");
toolbar.setTitleTextColor(Color.WHITE);
Drawable d=getResources().getDrawable(R.drawable.abc_ic_ab_back_mtrl_am_alpha);
toolbar.setNavigationIcon(d);
}
|
activity_toolbar.xml内容:
1
2
3
4
5
6
7
8
9
10
11
12
13
14
15
16
| <?xml version="1.0" encoding="utf-8"?>
<LinearLayout xmlns:android="http://schemas.android.com/apk/res/android"
xmlns:app="http://schemas.android.com/apk/res-auto"
android:layout_width="match_parent"
android:layout_height="match_parent"
android:fitsSystemWindows="true"
android:orientation="vertical">
<android.widget.Toolbar
android:id="@+id/toolbar"
android:layout_width="match_parent"
android:layout_height="wrap_content"
android:background="?attr/colorPrimary"
android:minHeight="?attr/actionBarSize">
</android.widget.Toolbar>
</LinearLayout>
|
这里给出一个更简单的方法:
1
2
3
4
5
6
7
8
9
10
11
| @Override
protected void onCreate(Bundle savedInstanceState) {
super.onCreate(savedInstanceState);
setContentView(R.layout.activity_toolbar);
Toolbar toolbar=(Toolbar)findViewById(R.id.toolbar);
toolbar.setTitle("设置");
toolbar.setTitleTextColor(Color.WHITE);
Drawable d=getResources().getDrawable(R.drawable.abc_ic_ab_back_mtrl_am_alpha);
toolbar.setNavigationIcon(d);
}
|
activity_toolbar.xml内容:
1
2
3
4
5
6
7
8
9
10
11
12
13
14
15
16
17
18
19
20
| <?xml version="1.0" encoding="utf-8"?>
<LinearLayout xmlns:android="http://schemas.android.com/apk/res/android"
xmlns:app="http://schemas.android.com/apk/res-auto"
android:layout_width="match_parent"
android:layout_height="match_parent"
android:fitsSystemWindows="true"
android:orientation="vertical">
<android.widget.Toolbar
android:id="@+id/toolbar"
android:layout_width="match_parent"
android:layout_height="wrap_content"
android:background="?attr/colorPrimary"
android:minHeight="?attr/actionBarSize"></android.widget.Toolbar>
<--!这里必须能添加一个id为@android:id/list的ListView否则会报错-->
<ListView
android:id="@android:id/list"
android:layout_width="match_parent"
android:layout_height="match_parent"></ListView>
</LinearLayout>
|
1
2
3
4
5
6
7
8
9
10
11
12
13
14
15
16
17
18
19
20
21
22
23
24
25
26
27
28
29
30
31
32
33
34
35
36
37
38
39
40
41
42
43
44
45
46
47
48
49
50
51
52
53
54
55
56
57
58
59
60
61
62
63
64
65
66
67
68
69
70
71
72
| public class SettingsActivity extends ActionBarActivity {
private Toolbar mToolbar;
@Override
protected void onCreate(Bundle savedInstanceState) {
super.onCreate(savedInstanceState);
setContentView(R.layout.activity_settings);
initViews();
setStatusBar();
setToolbar();
initFragment();
}
private void initViews() {
mToolbar = (Toolbar) findViewById(R.id.toolbar);
}
private void setToolbar() {
mToolbar.setTitle("设置");
mToolbar.setTitleTextColor(Color.WHITE);
Drawable d=getResources().getDrawable(R.drawable.abc_ic_ab_back_mtrl_am_alpha);
mToolbar.setNavigationIcon(d);
}
@Override
public boolean onOptionsItemSelected(MenuItem item) {
return super.onOptionsItemSelected(item);
}
private void initFragment() {
getFragmentManager().beginTransaction().replace(R.id.content, new SettingsFragment()).commit();
}
public static class SettingsFragment extends PreferenceFragment implements Preference.OnPreferenceChangeListener {
@Override
public void onCreate(Bundle savedInstanceState) {
super.onCreate(savedInstanceState);
addPreferencesFromResource(R.xml.settings_preference_fragment);
}
@Override
public boolean onPreferenceChange(Preference preference, Object newValue) {
return false;
}
}
private void setStatusBar() {
if (Build.VERSION.SDK_INT == Build.VERSION_CODES.KITKAT) {
Window window = getWindow();
window.addFlags(WindowManager.LayoutParams.FLAG_TRANSLUCENT_STATUS);
ViewGroup rootView = (ViewGroup) window.getDecorView();
View statusBarBg;
FrameLayout.LayoutParams layoutParams;
if (rootView.getChildCount() > 1 && (statusBarBg = rootView.getChildAt(1)) != null && statusBarBg.getId() == R.id.startus_bar_bg) {
layoutParams = (FrameLayout.LayoutParams) statusBarBg.getLayoutParams();
layoutParams.height = Appearance.getStatusBarHeight();
layoutParams.gravity = Gravity.TOP;
statusBarBg.setBackgroundColor(getResources().getColor(R.color.green));
statusBarBg.setLayoutParams(layoutParams);
} else {
layoutParams = new FrameLayout.LayoutParams(FrameLayout.LayoutParams.MATCH_PARENT, Appearance.getStatusBarHeight());
layoutParams.gravity = Gravity.TOP;
statusBarBg = new View(this);
statusBarBg.setBackgroundColor(getResources().getColor(R.color.green));
statusBarBg.setId(R.id.startus_bar_bg);
rootView.addView(statusBarBg, layoutParams);
}
}
}
}
|
布局文件:
1
2
3
4
5
6
7
8
9
10
11
12
13
14
15
16
17
18
19
20
21
22
| <?xml version="1.0" encoding="utf-8"?>
<LinearLayout xmlns:android="http://schemas.android.com/apk/res/android"
xmlns:app="http://schemas.android.com/apk/res-auto"
android:layout_width="match_parent"
android:layout_height="match_parent"
android:fitsSystemWindows="true"
android:orientation="vertical">
<android.support.v7.widget.Toolbar
android:id="@+id/toolbar"
android:layout_width="match_parent"
android:layout_height="wrap_content"
android:background="?attr/colorPrimary"
android:minHeight="?attr/actionBarSize"
app:popupTheme="@style/ThemeOverlay.AppCompat.Light"
app:theme="@style/ThemeOverlay.AppCompat.ActionBar"></android.support.v7.widget.Toolbar>
<FrameLayout
android:id="@+id/content"
android:layout_width="match_parent"
android:layout_height="match_parent"></FrameLayout>
</LinearLayout>
|
Preference xml:
1
2
3
4
5
6
| <?xml version="1.0" encoding="utf-8"?>
<PreferenceScreen xmlns:android="http://schemas.android.com/apk/res/android">
<Preference android:title="@string/settings_about"></Preference>
<Preference android:title="@string/settings_feedback"></Preference>
<Preference android:title="@string/settings_check_update"></Preference>
</PreferenceScreen>
|
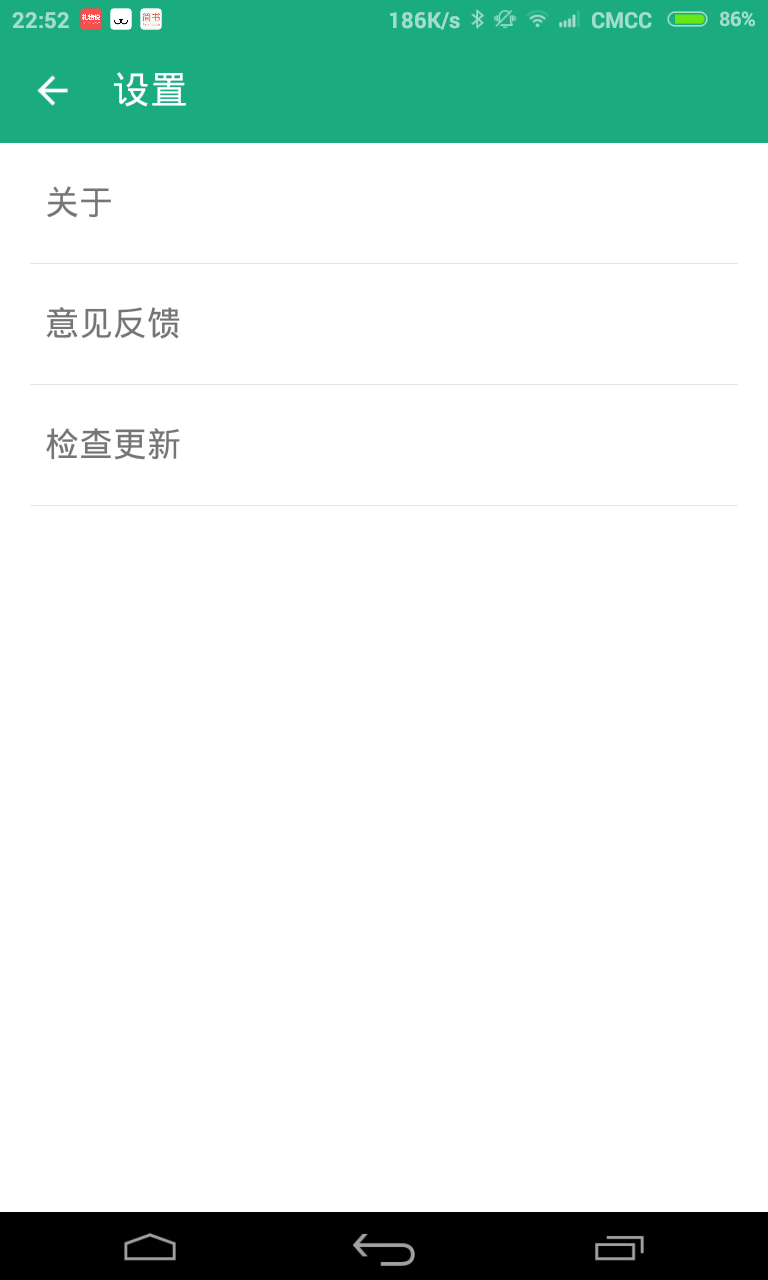
好了,收工。
效果图如下: